

I will start with a quick product recommendation.
If you've never used STAZON ink before, you must try it!!

It works on anything, drys super quick and will never swear after the fact.
STAZON ink pads are to stamping what Sharpies are to doodling.
(I love me some sharpies too!)
Anyway, it got me thinking about the coasters. So I ran down to Home Depot and bought some cheap tumbled tiles and threw together a cute gift.
To make this project, you will need the following:
*tumbled tiles ((6 for $4.95))
*stazon ink of your choice (($8/pad...I always use a coupon and get them 1/2 off))
*felt pads or substitute for feet (($4/package))
*various stamps of your liking
((assuming you have some- or alot like me, but if not you can run out and get one out of the $1 bin at Michael's if needed))


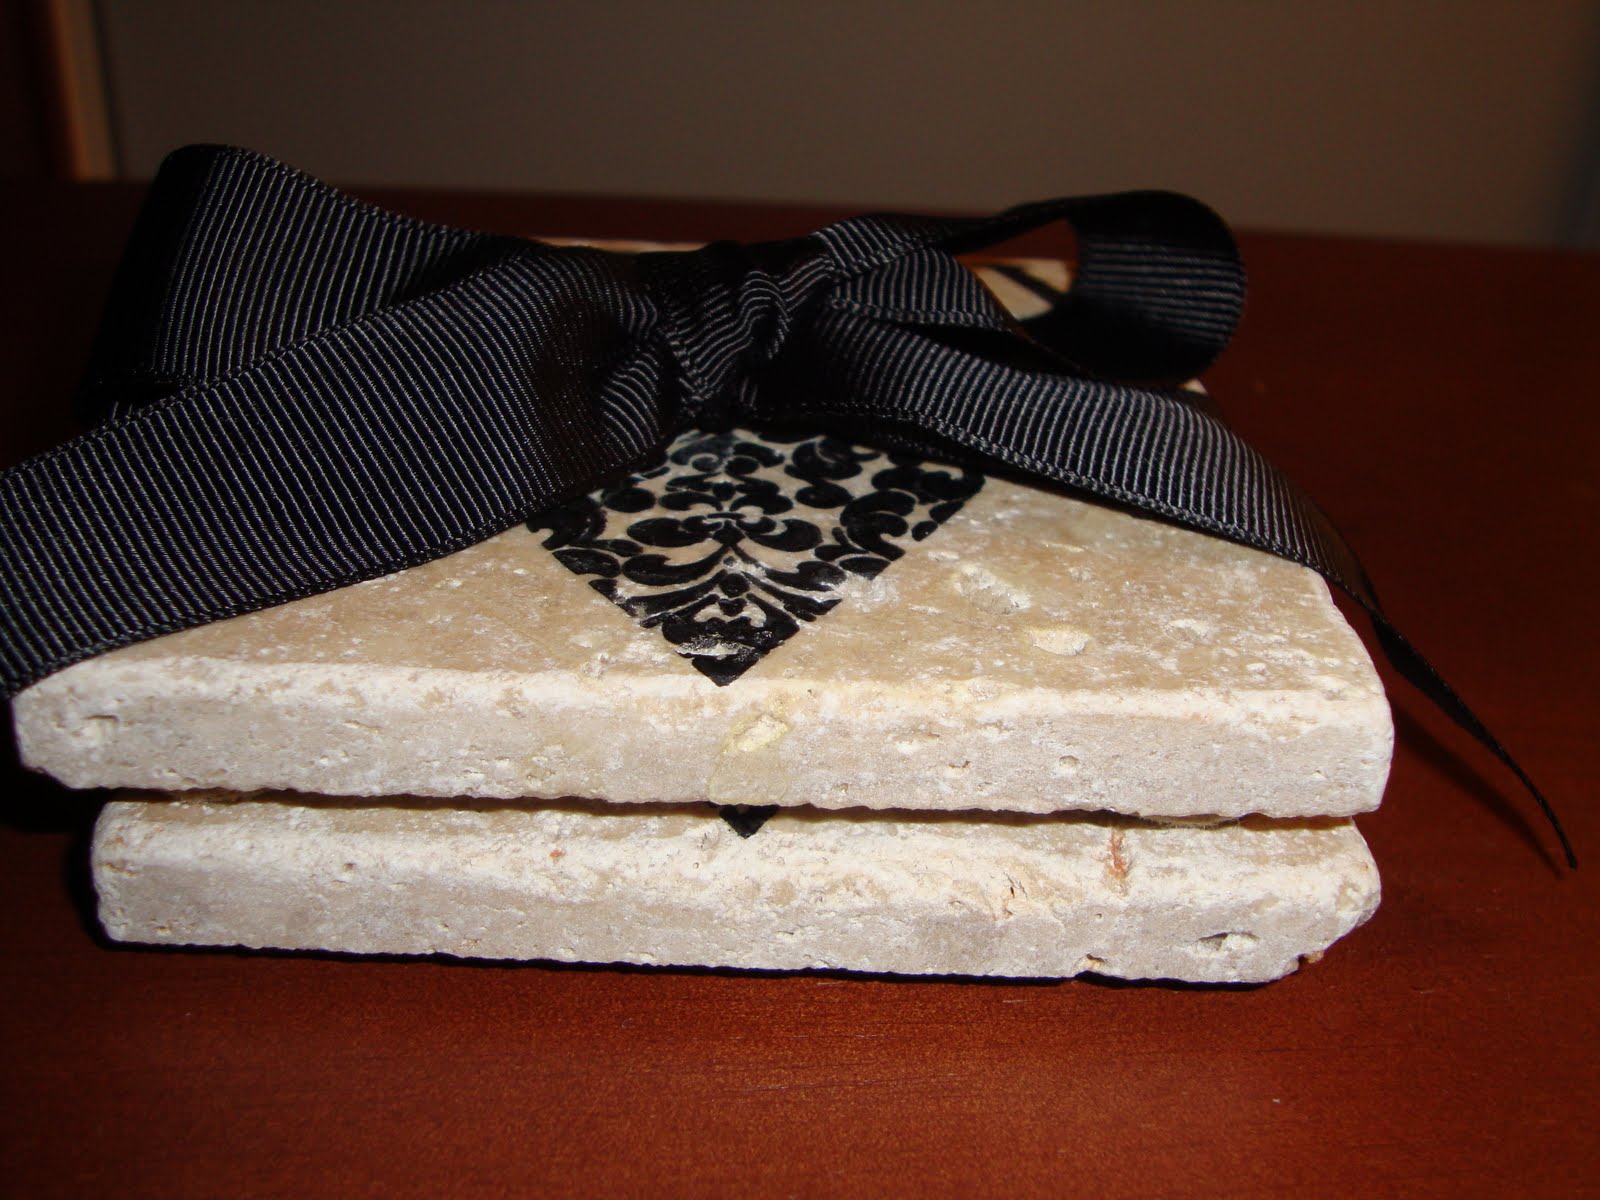
All I did was wash off the tiles (they can be a bit dusty) and stamp them with some fun stamps and STAZON ink. I let them rest to ensure they were good and dry (about 10min to be extra safe) and then I rinsed them again and dried them. Afterwards I put on some little felt feet so they didn't scratch the table. You could also use a felt square, but I had stamped on the back as well. I made a set of 6 for my brother-in-law as a housewarming present. (I wish I had taken pictures, but didn't think about it. They were a scientific butterfly (so they looked more manly) repeated in a scattered pattern.) And I made these two for myself. This is how I packaged the set of six and I thought they looked nice (more impressive with a bigger stack of course)

This is a great project for just about anybody. The possibilities are endless as you can use ANY stamp you own or can get your crafty hands on. You can make them as customized as you like. I have even thought about adding names on them. Not only housewarming gifts, but weddings, birthdays, teacher gifts, mother's day, father's day,Christmas, you name it. I think they would be really easy to make and have on hand. You can also add them easily into a gift basket. ADDED BONUS...they are super cheap to make (less than $1 a tile).
Now don't get me wrong, I still LOVE the way the decoupage coasters look and think I may try them just for me some day, then if they don't hold up only I will know.
I hope you enjoyed my rambling and decide to make some coasters of your own.
Until next time, Have FUN!
~Barbara


No comments:
Post a Comment